How do I organize, document and upload a large archive?
If you’re lucky enough to discover boxes and folders documenting a graphic design project or entire designer’s career, you’ll want to document that work and add it to the Archive without getting overwhelmed.

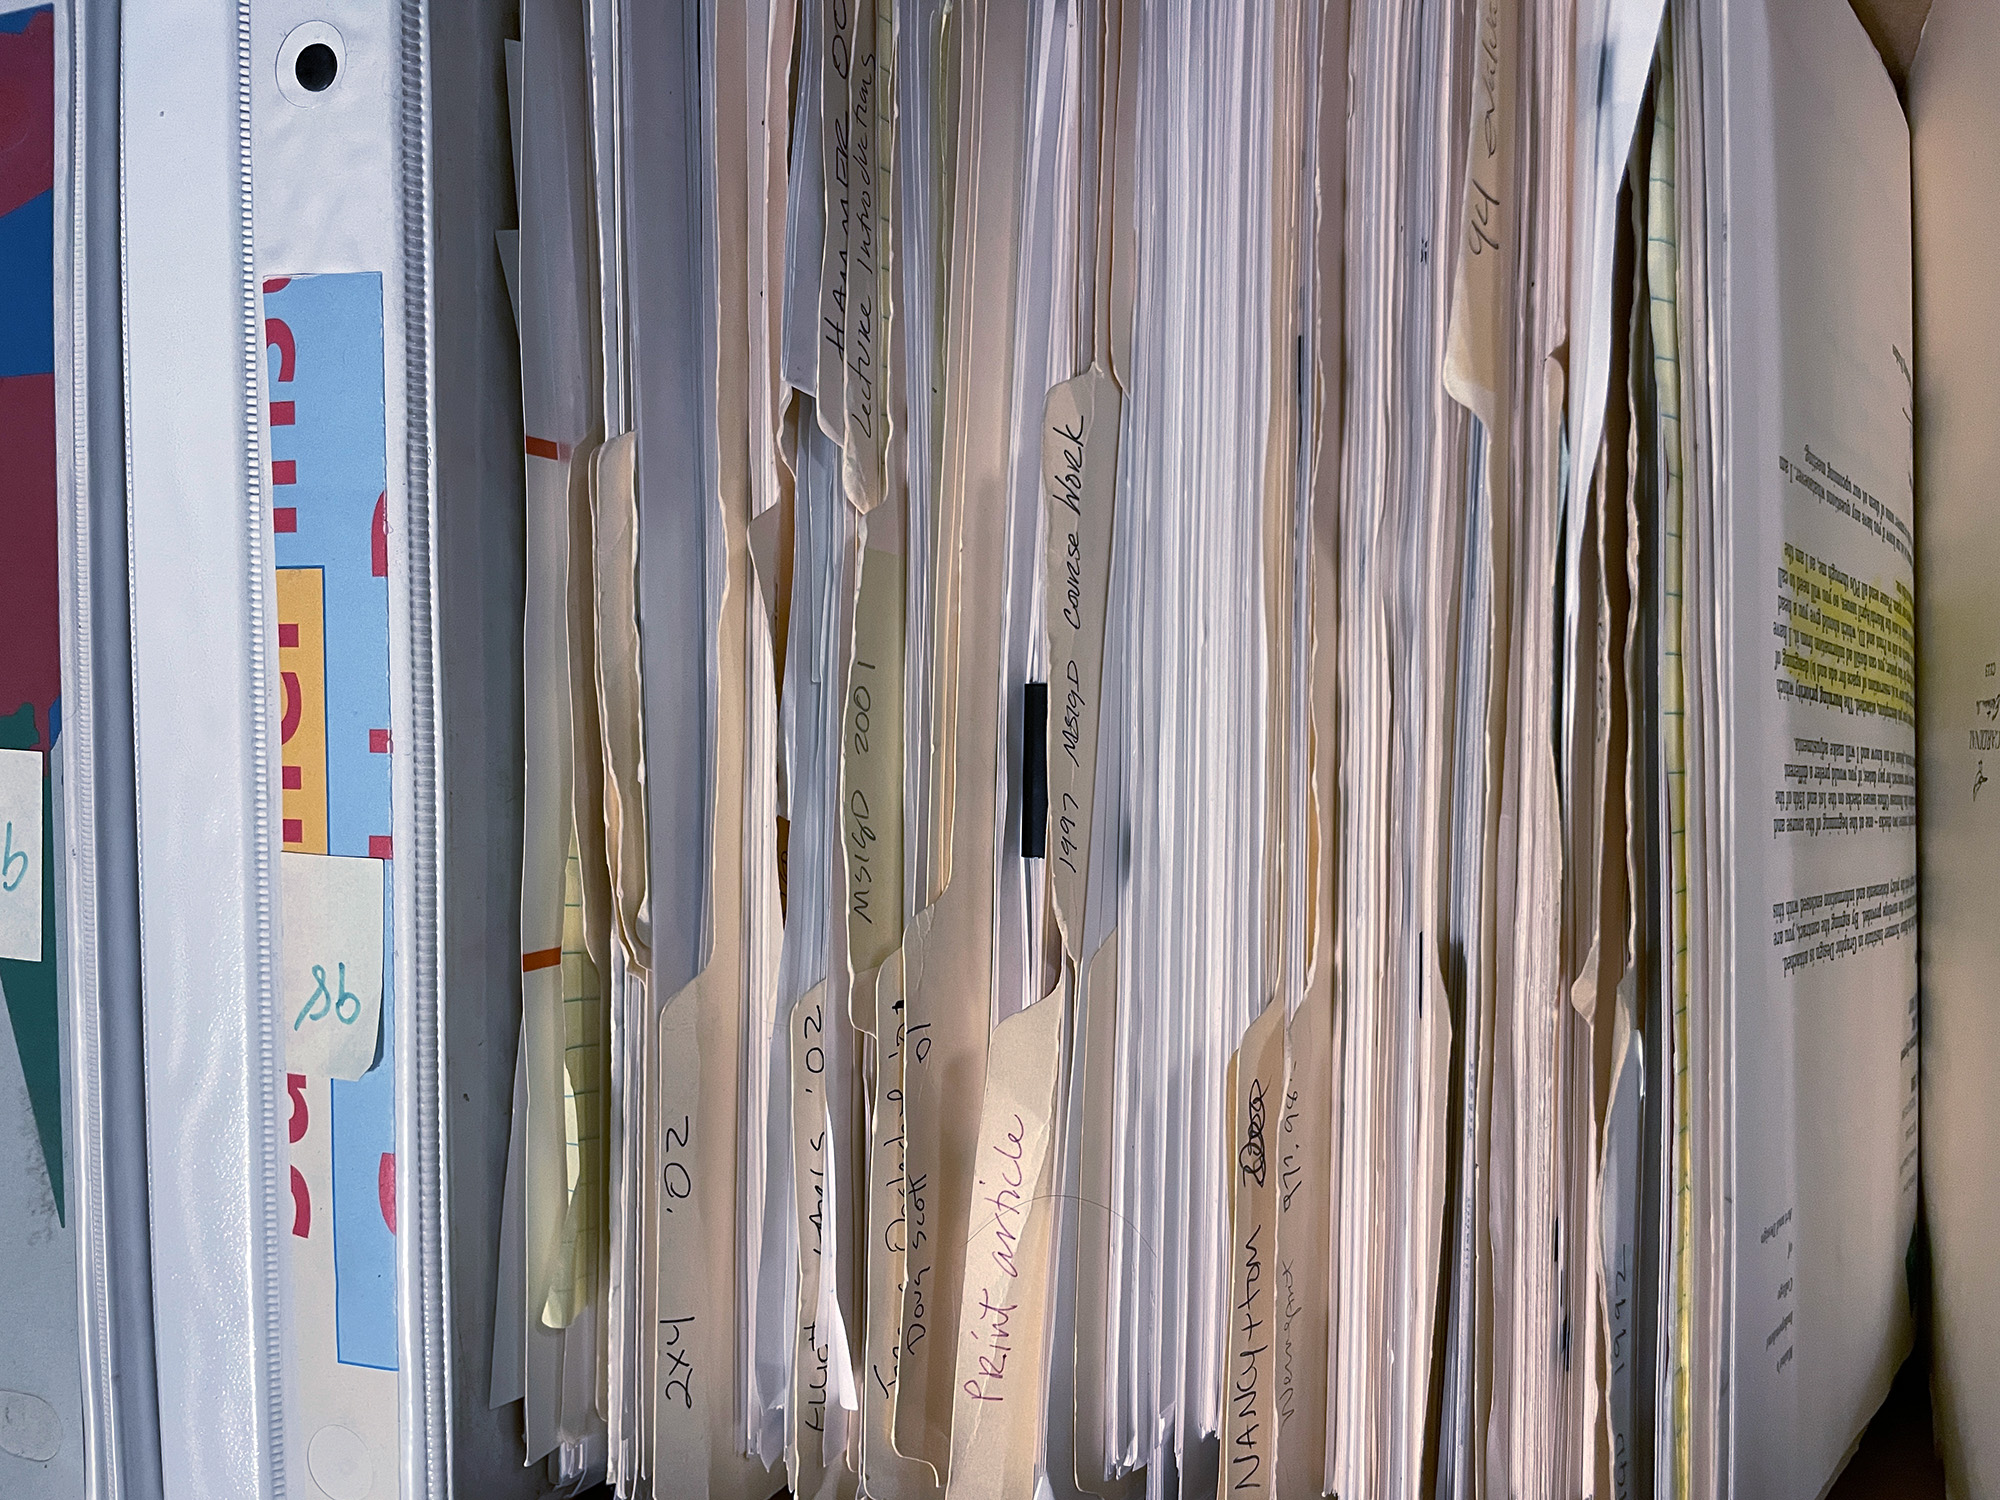
Documents that were added to the Archive from the Maine Summer Institutein Graphic Design 1994
There are 3 essential simple steps:
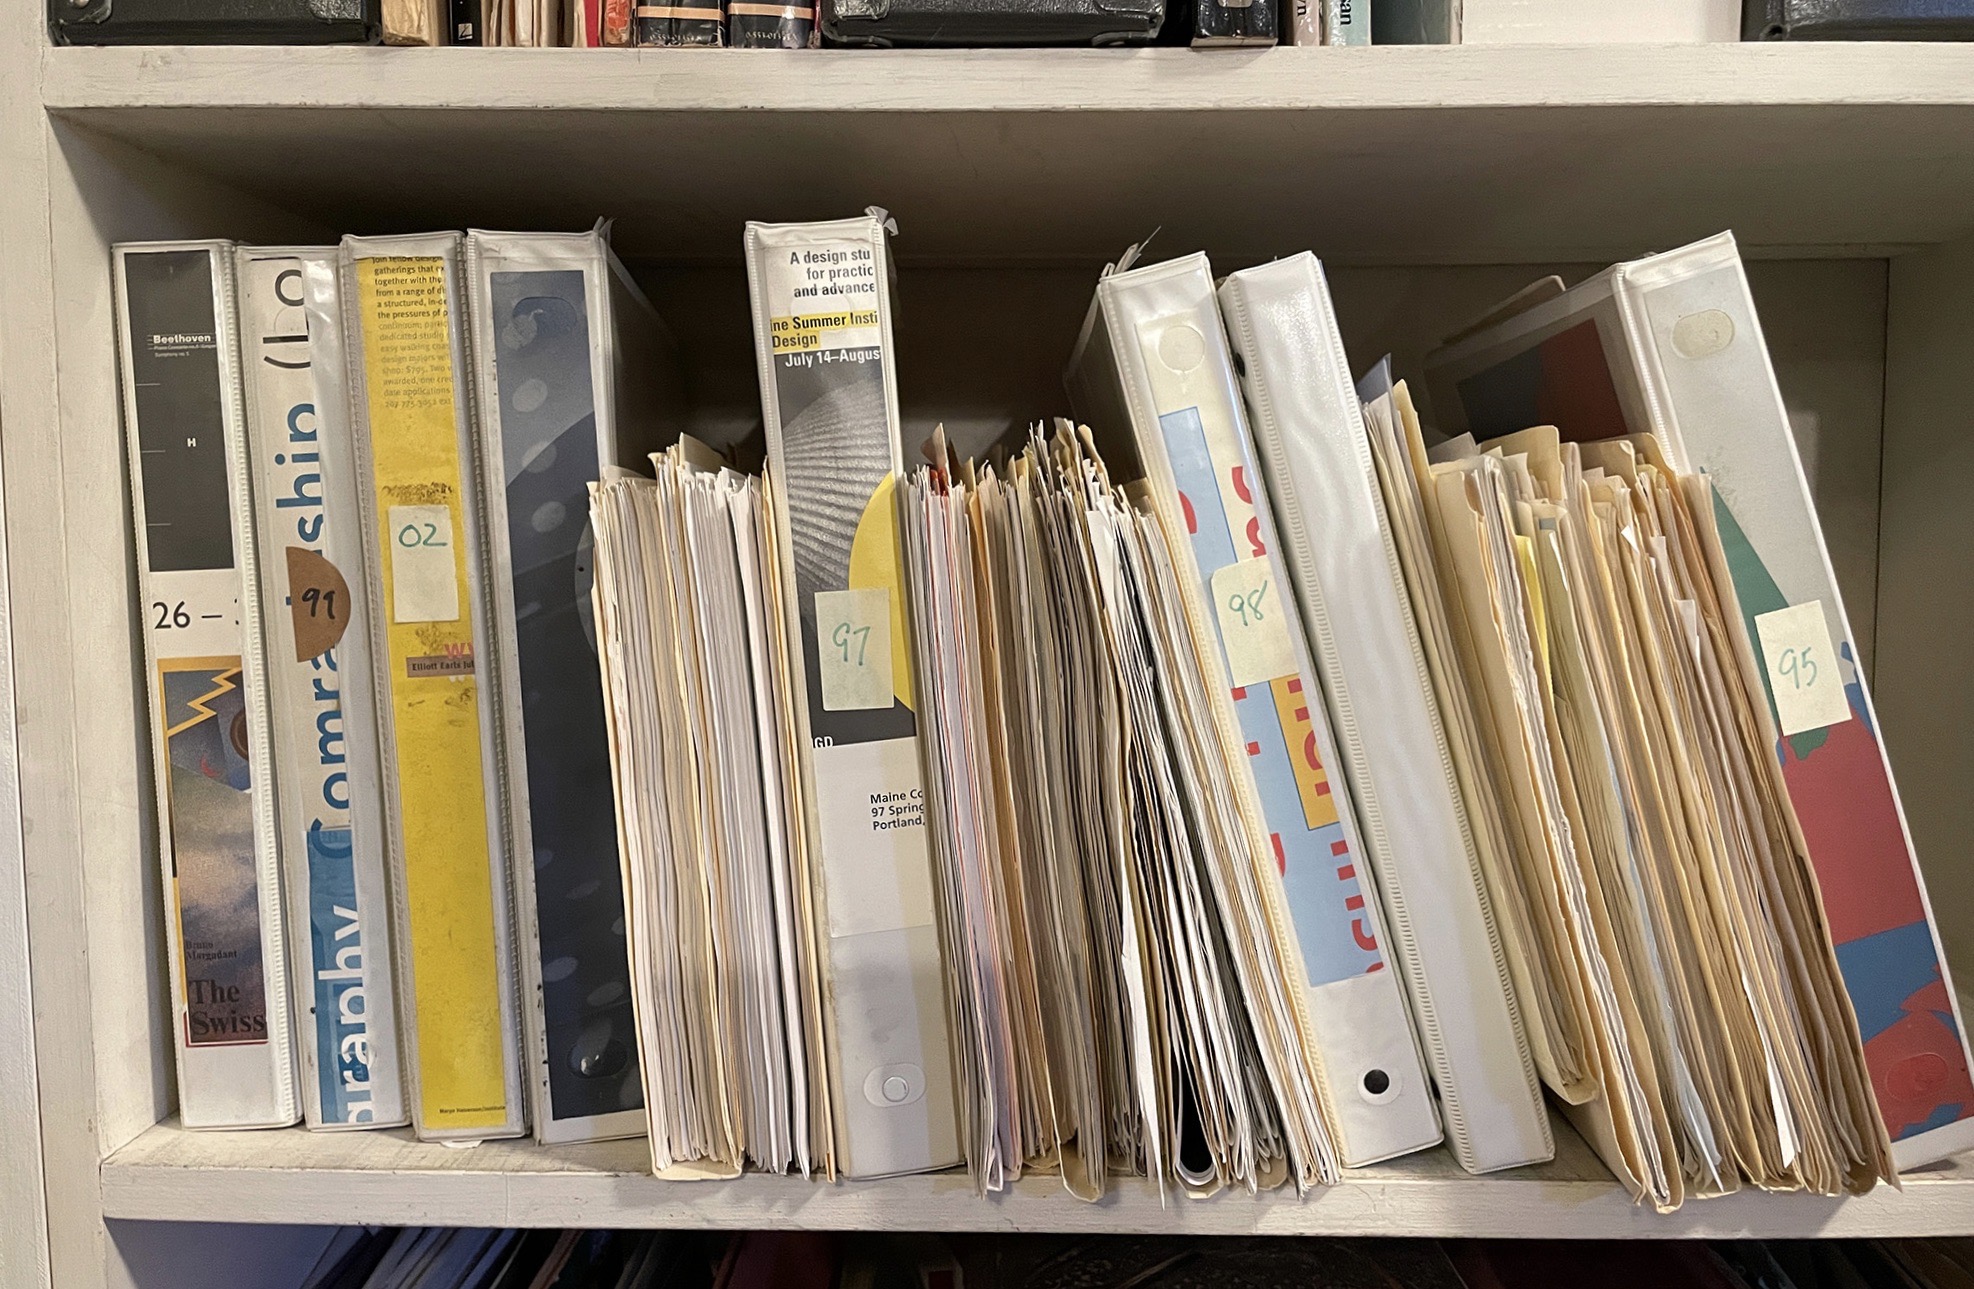
- Organize. Notice how the work is already organized. Perhaps in boxes or folders that may or may not be labeled. Don’t change the system; keep it as it is!

Binders and folders from the archive of Maine Summer Institute in Graphic Design documents
- Document.
- For each box or folder, create a digital file (i.e. “TMC On-Air Graphics” or “TMC Design Studies” or “Name-of-Designer Untitled Box”)
- Photograph or scan the most interesting items in each box or folder. Using your phone camera is fine (See “How do I document work quickly and easily?”) For digital materials, you might organize file names or root structures for clarity.
- Place the images in the digital folder (You’ll be able to upload the entire folder of images to the Archive. See “How do I add items to the archive?”)
- Upload
- On the Add to Archive page, drag the folder to the upload area. Complete the Title, About, and Source field and any other fields that the folder has in common.
- Keep in mind that if a group of images are added to the same item page in the Archive, they need to share the same title, description, and source. Otherwise, they should be in separate item pages.
by Kate Long, Letterform Archive Librarian and images credit Margo Halverson